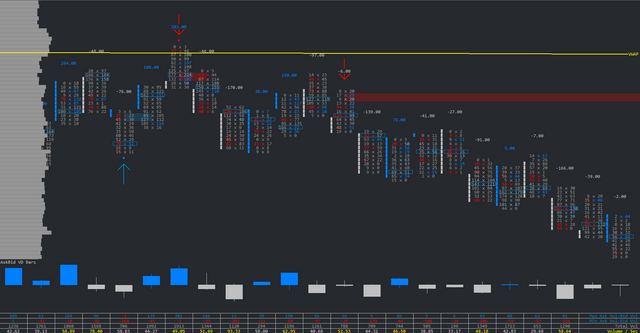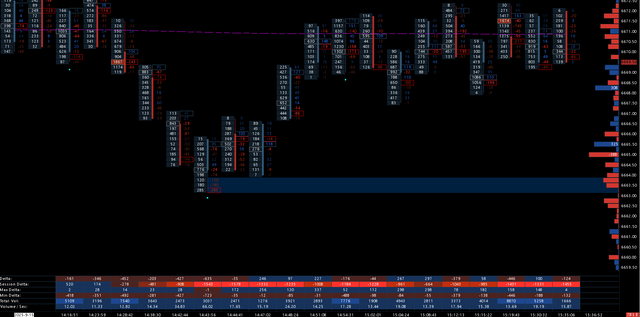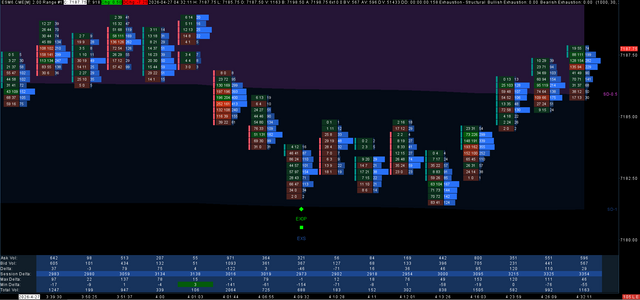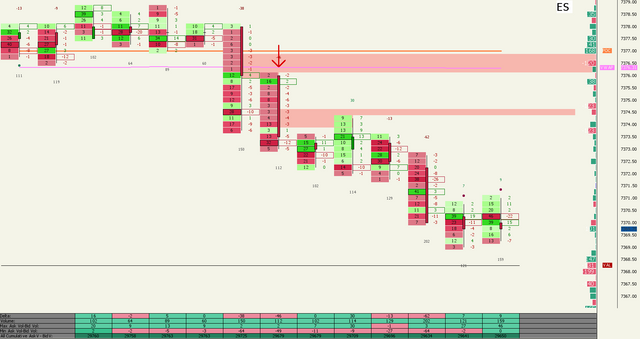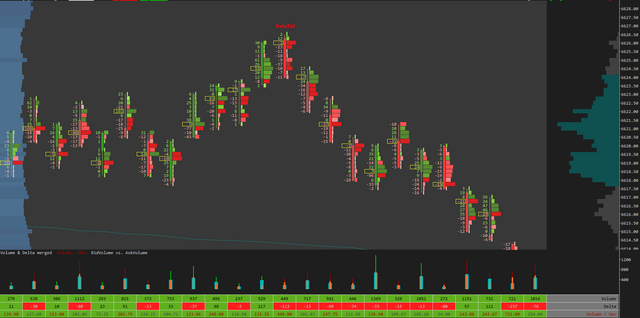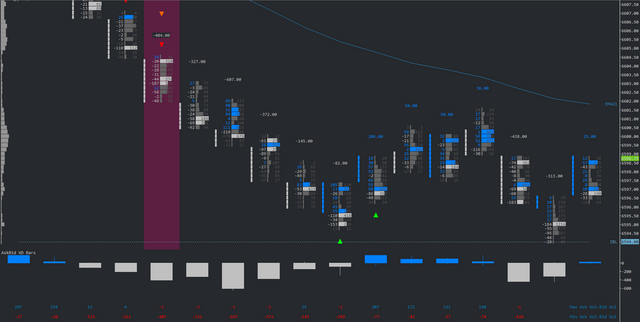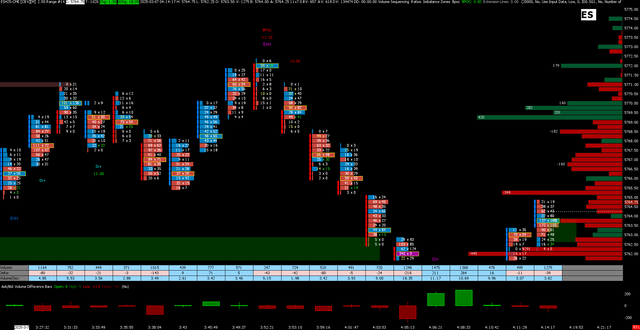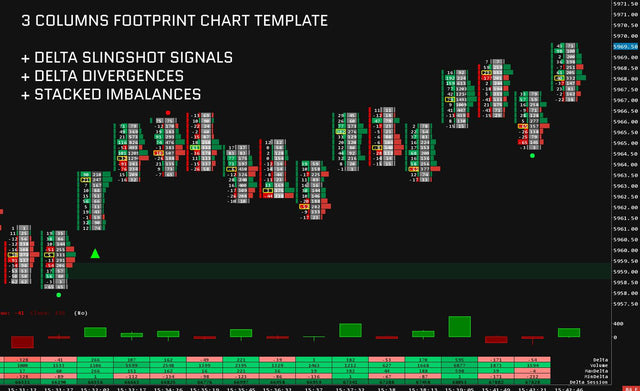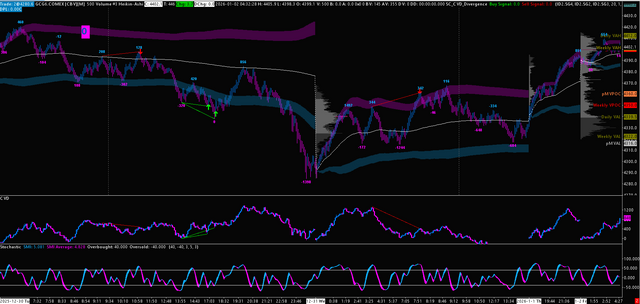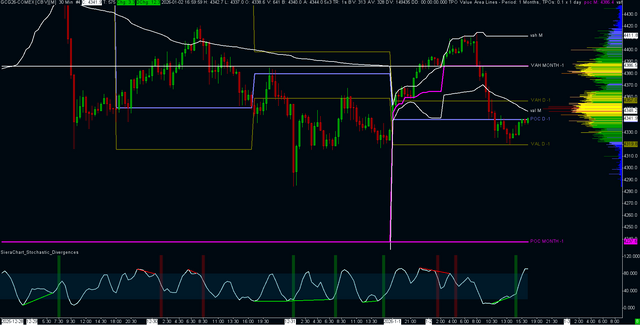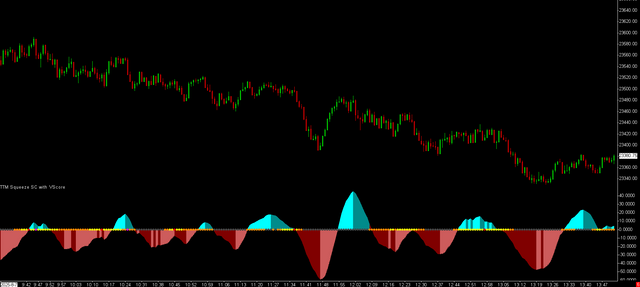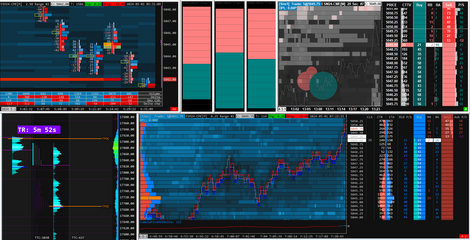

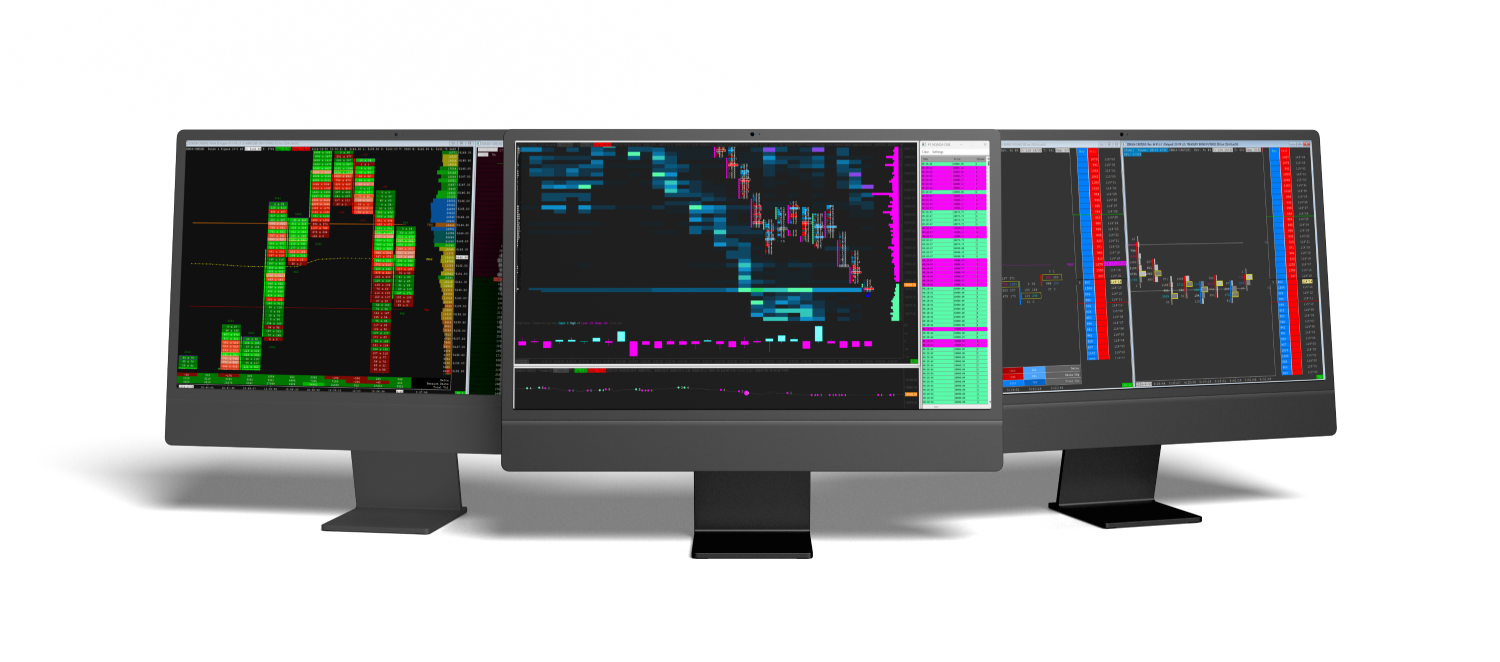
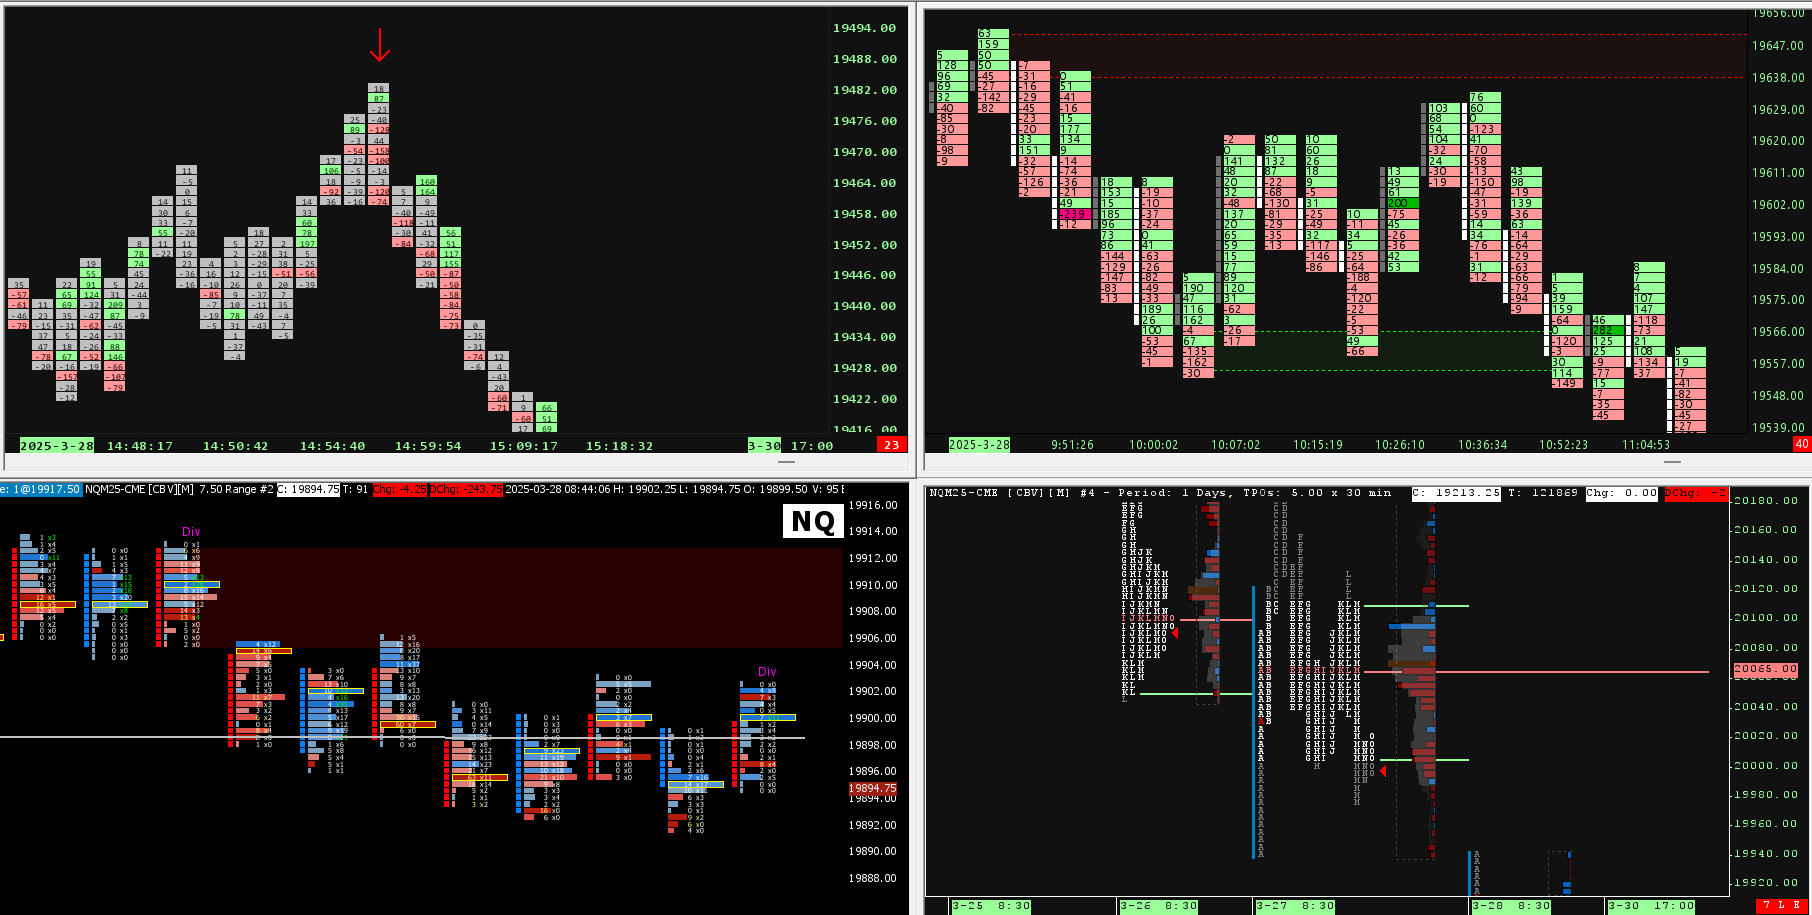
Absorption Pack V4
See where passive orders absorb aggressive ones, and which traders end up trapped at the level.
- 4 absorption indicators
- Chartbook with 8 optimized charts
- Bonus: Bookmap-style heatmap template
Sierra Chart indicators for order flow, absorption and Market Profile trading. Every pack comes with a chartbook that is already set up.
What do you want to see on your chart?
Each pack bundles several Sierra Chart indicators with a chartbook that is already set up. Pick the one that matches what you read on your chart.
Best seller
See where passive orders absorb aggressive ones, and which traders end up trapped at the level.
Best value
A complete set of order flow signals for your footprint, from absorption to delta divergence.
Most complete
Read imbalance, exhaustion and delta momentum inside the footprint, bar by bar.
New
For TPO traders: 16 readings of the session and a bias score, calibrated to your own market.
Send us your Sierra Chart username and the indicator or pack you want to try. We activate it on your account for 7 days, free.
12 Sierra Chart indicators, each sold on its own. When a study is also part of a pack, its card says so.

Hammer candles checked for diagonal absorption and trapped traders, filtered by POC.

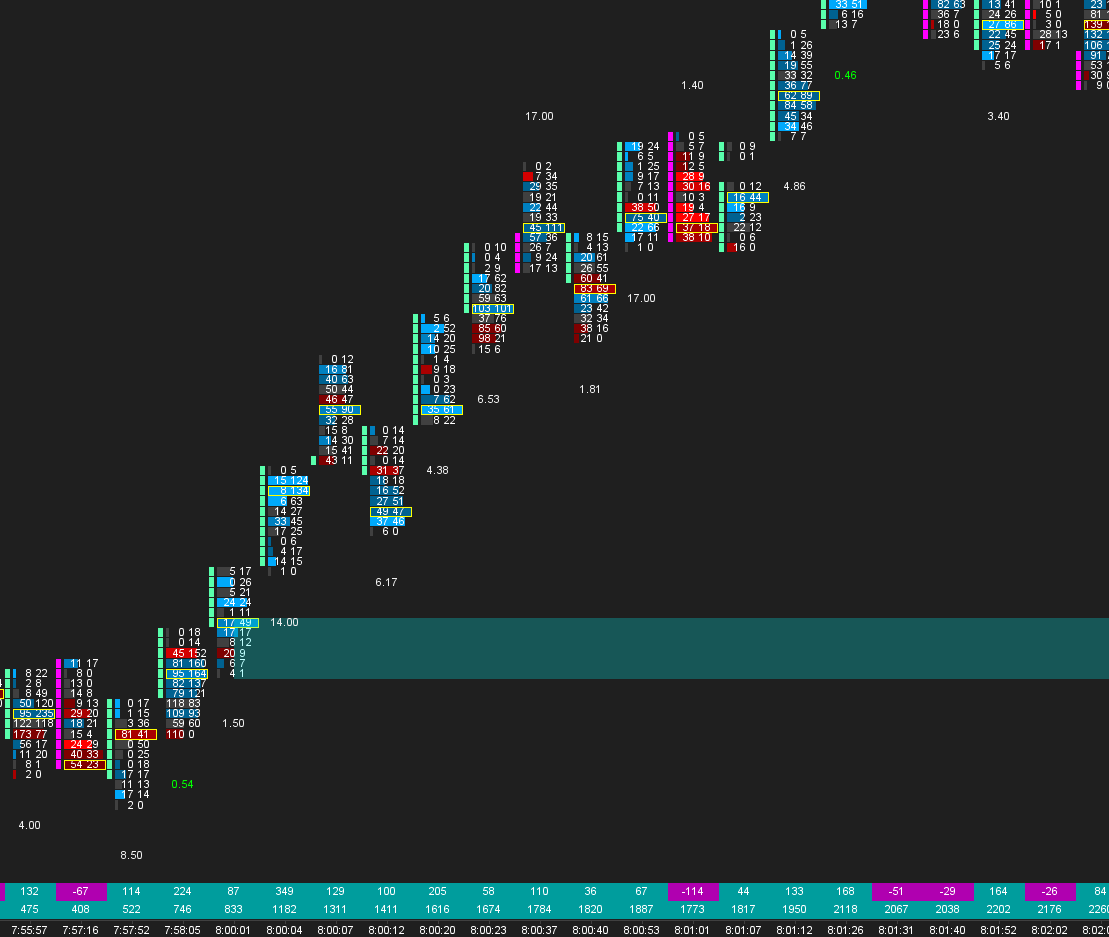
Detects absorption and extends it forward as support and resistance zones.

Two order flow reads in one study: classic zero print and structural exhaustion.
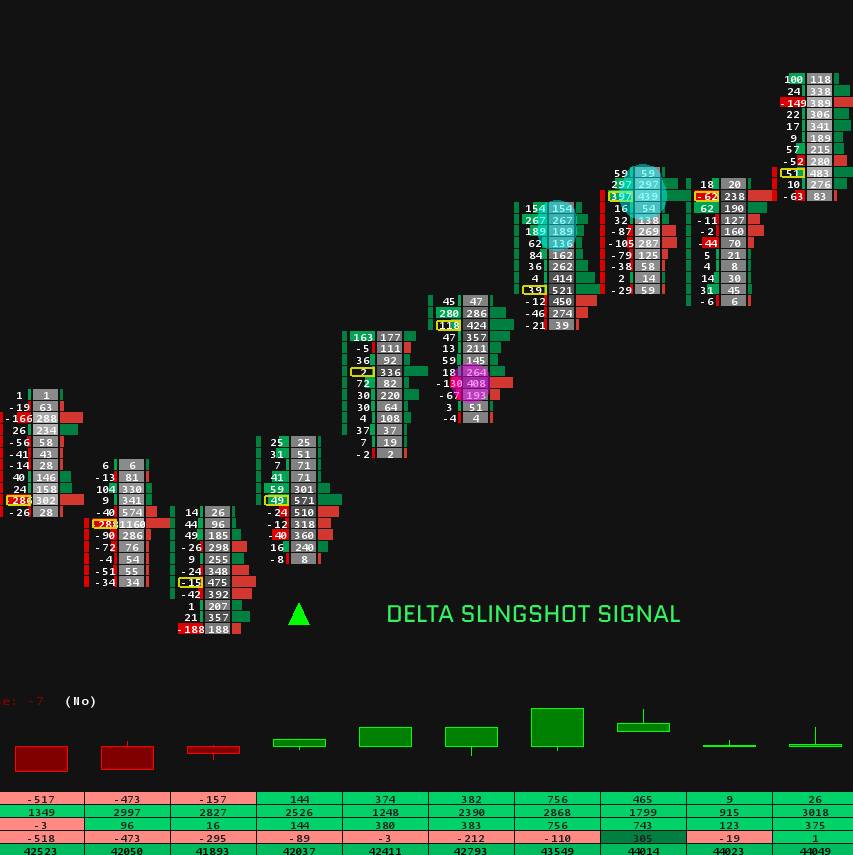
NewMarks bars whose delta swings hard against the bar before. Footprint template included.

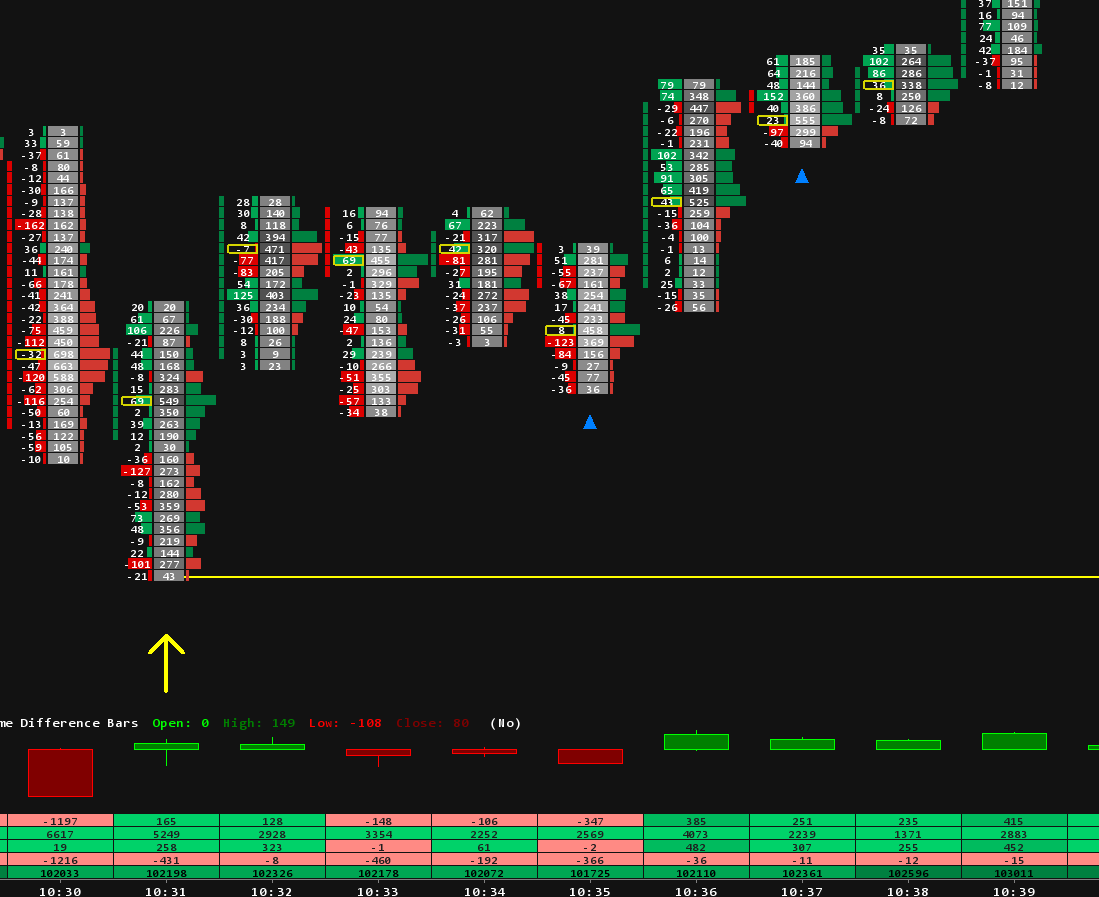
Finds the bar where aggression failed and marks it on the close. No repainting.

Spots failed aggressive tests and shifts in buyer or seller control.

Tracks delta building or fading over a set number of bars.

Marks the point of control of each bar and highlights the extreme ones.

Reversal signals that combine delta behavior with price action.

Cumulative volume delta divergences for reversal and continuation setups.

Regular and hidden stochastic divergences, drawn from fractal pivots.

The TTM Squeeze with a VScore layer and three squeeze levels.
| Family | What it reads | Typical use |
|---|---|---|
| Absorption | Passive orders soaking up aggressive volume without price giving way | Spotting defended levels and trapped traders at extremes |
| Exhaustion | Aggressive participation thinning out at swing highs and lows | Timing reversals when a move runs out of fuel |
| Delta | The balance of buying and selling inside each bar | Reading who is in control, bar by bar, with clear signals |
| Divergence | Price and an underlying measure disagreeing | Catching weakening trends before the turn |
| Levels | Points of control and structural prices as they form | Building a map of prices worth trading against |
| Ratio | The proportion between opposing flows at key moments | Confirming or rejecting a setup before entry |
Each indicator is a Sierra Chart custom study and comes with its own installation and activation guide. Once installed, it appears in Analysis, then Studies, like any built in study, and can be added to any chart.
Yes. An indicator adds to whatever chart you are running, including our own templates and any workspace you built yourself.
Sierra Chart with the service package listed on each product page, and for order flow based indicators a data feed with tick level volume detail. Requirements are stated on every product page before purchase.
An indicator answers one question on a chart you already run. A template is a complete tuned workspace. If you are building your first order flow setup, the Sierra Chart templates catalog is the faster start, and indicators extend it afterward.
Indicators work best when you can read what they point at. The order flow sequencing guide covers the underlying mechanics, the footprint setup guide builds the chart most of these indicators live on, and our roundup of free Sierra Chart studies shows what the platform includes before you buy anything. Complete workspaces live in the Sierra Chart templates catalog.
Thanks for subscribing!
This email has been registered!
| Product | SKU | Description | Collection | Availability | Product Type | Other Details |
|---|